“Just yank. It will come right out.”
I stared at my colleague in horror as he handed me the robot, pointing at the wheel. Begrudgingly, I gripped the tyre and gave a tiny tug. The wheel stayed in place. I began to suspect this was a prank to get me fired in my first week.
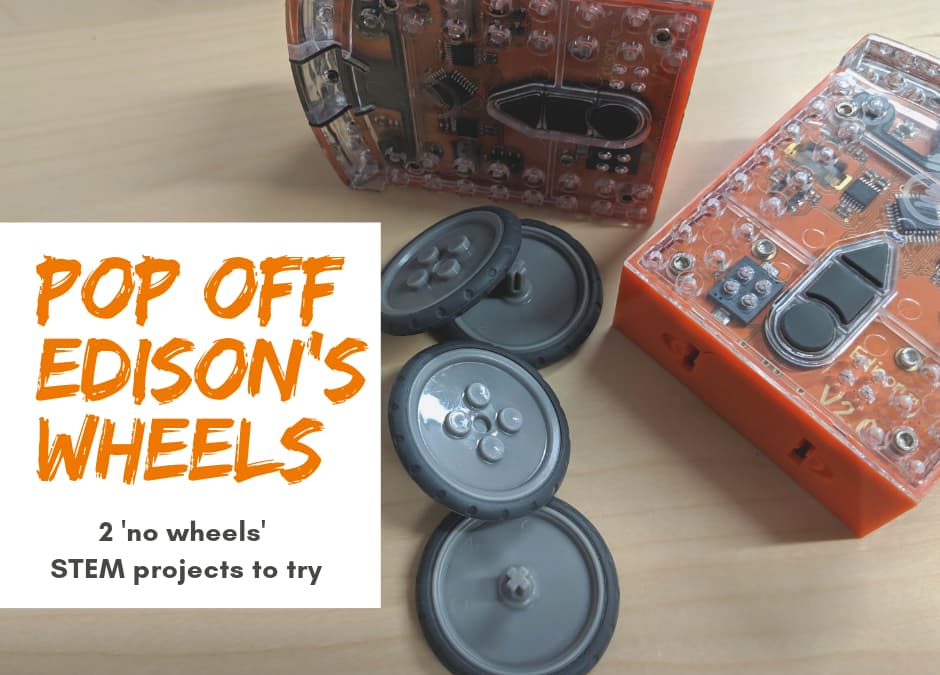
“When the robot is new, it can be a bit stiff,” my co-worker assured me, taking back the Edison. I heard a tiny ‘pop’, and there it was: the wheel, complete with an in-built axle, in his hand and off the robot.
As I collected back my Edison and its wheel, I remember thinking two things:
- The wheels come off. Cool.
- What do you do with a robot with no wheels?
Looking to try project-based STEM using Edison robots? Start by getting rid of Edison’s wheels.
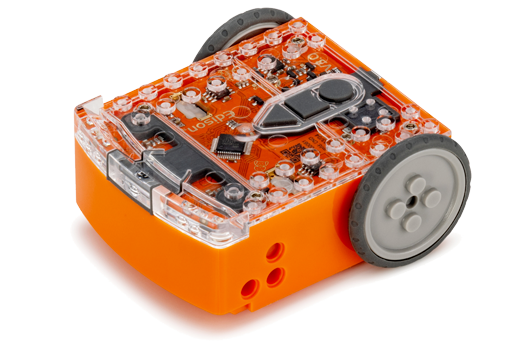
Edison’s ability to drive around makes using the robots loads of fun and highly engaging. And, because Edison works with any LEGO brick compatible building system (including the EdCreate robot creator’s kit), the robots are ideal for all types of creative STEM and STEAM projects. Some awesome activities, like decorating and modifying the robots before a sumo battle or trying to attach a pen for the DoodleBot challenge, work best with Edison’s wheels on.
If students only ever use their robots with the wheels on, however, they are missing out on the full potential of possible project options. A whole new world of STEM project-based learning opens up once Edison’s wheels come off.
‘No wheels’ doesn’t mean ‘no motors’
When I first learned that Edison’s wheels could come off, I didn’t know what to do with that fact. Sure, I could still program the robot to play music or use its lights. But was that it? Was the robot now just a blinking, musical brick?
For anyone who has only used Edison with the wheels on, this limited view of the robot’s potential is natural. That’s why having students pop the wheels off is so important.
Getting students to remove the wheels from Edison might seem like a tiny thing, but it’s a really valuable learning opportunity. Understanding that removing the wheels is possible is the first step in helping students to see robotics as something they can build, not just something that comes pre-made.
The next step in unleashing students’ imaginations (and STEM project awesomeness) is learning about Edison’s motors. The motors are the bits of the robot that allow movement to happen. Edison’s motors can be used to power all sorts of creations by attaching axels into the powered sockets. That’s how the wheels work too – the axle on Edison’s wheel goes into the powered socket and is then turned by the motor.
It’s important that students learn that while they work together, the motors are separate from the wheels. This realisation leads to a bigger one: that the motors are still an option even when the wheels are gone.
What do you do with a robot with no wheels? Just about anything!
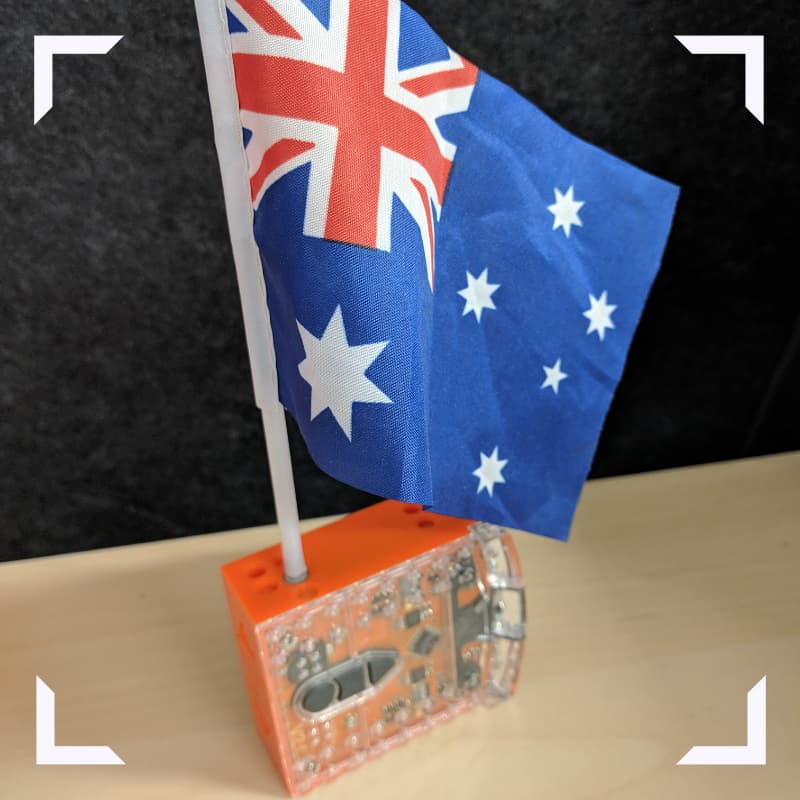
Counterintuitive though it may seem, once you take the wheels off of Edison, the options for what to do with the robot actually increase. By taking the wheels off Edison and putting an axle into the powered socket instead, you can turn Edison into the programmable base for some incredible creations.
While the potential for invention may seem obvious to some students, others will need some stepping-stone tasks to help them imagine other possible ways of using Edison in the future. Switching wheels for axles is also a great requirement to work into a STEAM project, bringing in elements of engineering and technology seamlessly.
Like all good STEM and STEAM projects, it is best to best to choose a ‘no wheels’ project with a heart of inquiry. Pick a project with a problem to investigate and solve or a question to explore and answer. An engaging problem or question makes learning more meaningful for the students. But the core problem doesn’t need to be massive for the project to be valuable.
Here are two great options to try.
Project 1: Milo Maker
This delicious project centres around a topic kids are bound to enjoy: chocolate.
Be it a cup of hot cocoa to warm up on a winter’s day or cold chocolate milk just about any time of year, instant chocolate drink is a favourite indulgence for kids of all ages. Whether your go-to brand is Cadbury, Nesquik or Milo, chances are you and your students are familiar with mixing up powdered chocolate drink. Use that familiarity to create a project that encourages experimentation while getting students to use good science practices, such as controlling variables.

The question for investigation
The most basic version of this project is to investigate the effect temperature has on getting the powder to dissolve. Students mix the chocolate into different temperature liquid (cold, room temperature and hot, for example) and see how long each takes to dissolve.
Like all experiments, keeping the variables controlled so only one thing changes at a time is key. If the point is to investigate the effect changing the liquid’s temperature has on dissolving the powder, then all the other variables should remain constant. Students can help identify the variables that need to stay consistent for each test, such as the amount of liquid, the type of cup and the quantity of chocolate powder.
How do you control the variable of mixing with a spoon? It is very easy for a person to stir a bit faster or for slightly longer in one test than they did in the other tests by accident. Keep the ‘mixing’ variable in check by using a mechanical spoon!
Have students devise a way to attach a spoon to Edison’s powered socket. They will also need to write code so that the robot’s motor runs for a set amount of time at a specified speed when they run their program. This will allow them to keep the ‘mixing’ variable consistent across experiments.
Other variations
Maxed out your experiments on temperature? There’s plenty more to investigate! A few ideas:
- Which brand of chocolate powder mixes fastest?
- Which brand of chocolate powder mixes fastest at each temperature?
- What type of block chocolate (white, milk or dark) mixes into hot water first?
- Does adding marshmallows affect mixing time?
Project 2: EdTank obstacle course
Turn the EdTank (an EdCreate EdBuild project) into the moving test subject for some active design thinking.
One of the five EdBuild engineering projects using EdCreate, students can build the EdTank following video or book-based instructions. Using the EdCreate kits and step-by-step instructions for creating an EdBuild helps ease students into building with Edison without needing to design the creation themselves. This is a great way to give kids exposure to interactive engineering while minimising frustration.
There’s still plenty of design thinking required in this project, however! Once they’ve built the EdTank, students need to unleash their creativity as they design an obstacle course for the robot to navigate.

The problem to explore
Many real-world vehicles, like bulldozers and snowmobiles, use treads instead of wheels. Why? What advantages do treads give a vehicle compared to standard wheels? What are the trade-offs that come with this swap?
Get students exploring the problem of vehicle design on a mini scale using the EdTank and an unmodified Edison robot. A perfect project for collaboration, students will experience design thinking, prototyping and the iterative design process as they create and test their obstacle course.
Have students first design an obstacle course prototype using materials like construction paper. Prototyping is an important step in the engineering design process and a good way for students to begin to see the limits, and potential, of their ideas. Once the group is happy with their obstacle course concept, they will need to create a larger version, then test both their EdTank and a standard Edison in the course. Students can program the robots using barcodes paired to TV remote controls, then drive the robots through the course. Or, for an added challenge, have teams code the robots to navigate the course independently using any of the robot programming languages.
Which robot does better with which obstacles? Are there any obstacles neither robot can complete? Challenge students to iterate their design and keep testing, exploring the limits and the reasons behind them.
Students can try this project with either the basic EdTank or the complete EdTank build. You can also get students to test both designs in the obstacle course to see what happens to the EdTank when the extra weight of the second Edison robot is added.